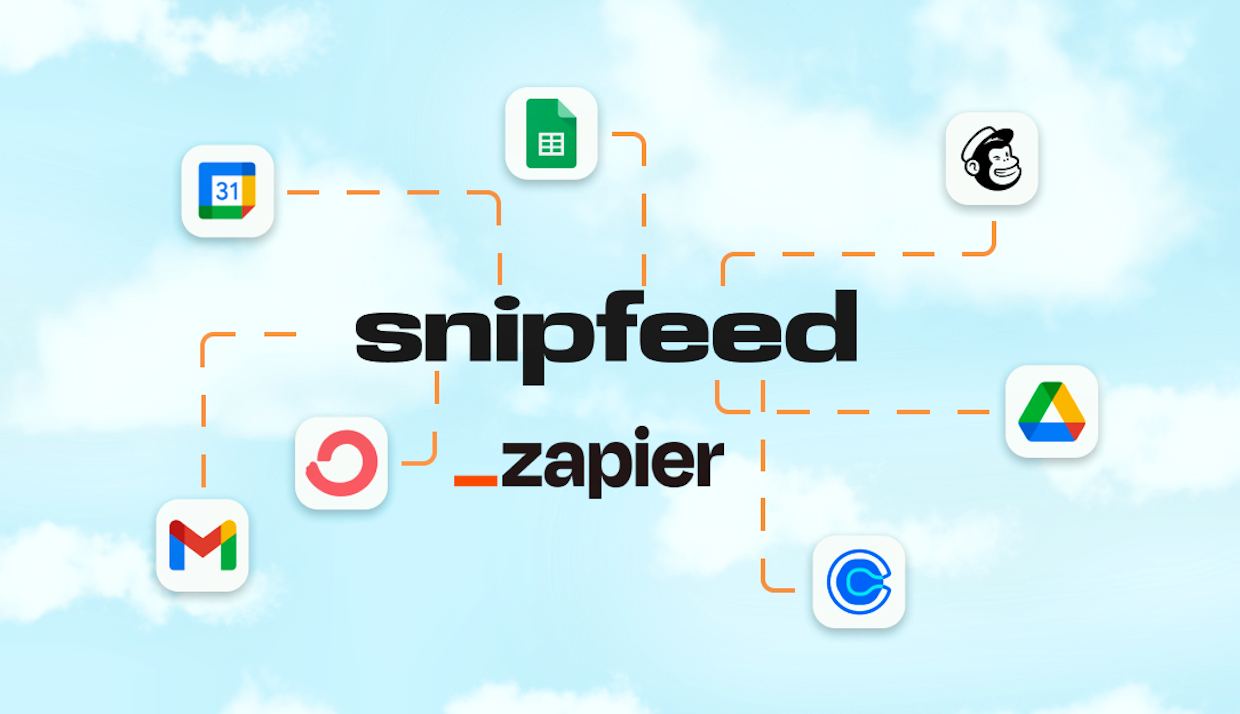
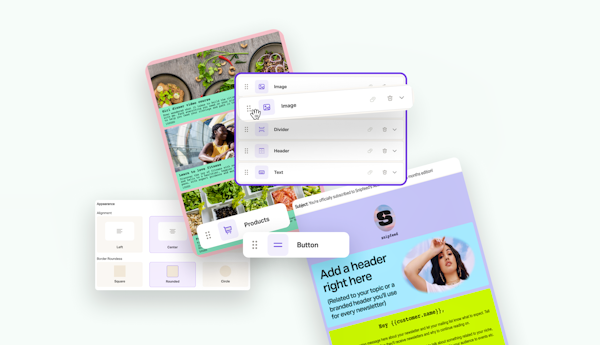
Zapier is the ultimate tool for automating your workflows, connecting your apps and making your life a whole lot easier (reducing time spent on repetitive tasks).
As a creator, you wear many hats 🎩
Community manager, marketer, photographer, video editor, copywriter, email crafter, consultant - creators have to deal with a lot. Here’s the solution to executing a passive income strategy without all the day-to-day tasks that come with it.
What is Zapier, and why should it be in every creator tool kit?
Zapier is the simplest way for you to move info from one app to another. It’s automatic, and you can tell Zapier exactly how and when to send the information to any of your apps.
From building your mailing list on Mailchimp to tracking growth on an Excel spreadsheet and triggering specialized email campaigns on Convert Kit, allow your business to continue moving while you’re offline.
You can connect just about any app to start automating. Check it out below.
How can creators use Zapier with Snipfeed?
Here's a few examples of how creators can utilize Zaps with Snipfeed to minimize repetitive tasks and level up their monetization strategy - see below.
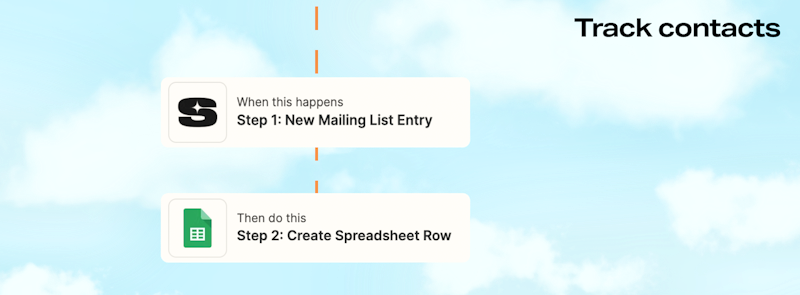
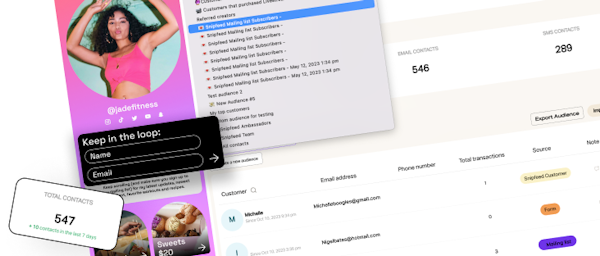
Example 1: When someone signs up to your mailing list via your Snipfeed page, choose the details you’d like to be added to a Google sheet.
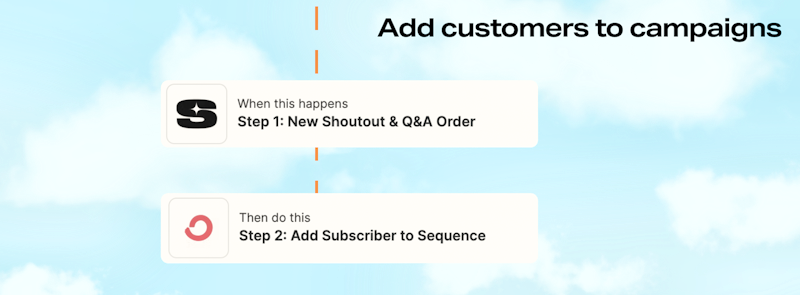
Example 2: Add each customer who purchases a Q&A to a specific email campaign (Sequence) you’ve created on Convert Kit (so for instance, you can email this group when you release a new Q&A option).
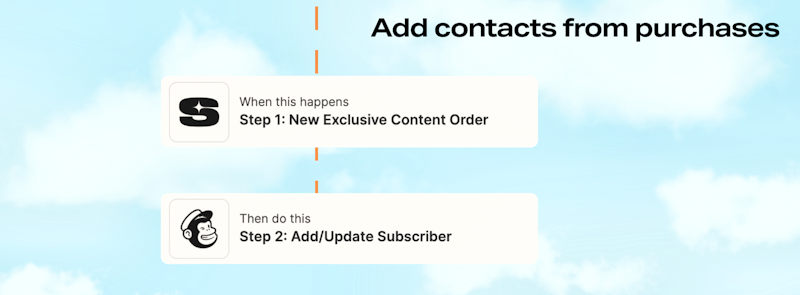
Example 3: Each customer who buys your Exclusive Content on Snipfeed will be automatically added to Mailchimp as a contact.
Zapier glossary
For those of you new to Zapier, let’s go through some lingo:
Zaps
Zaps are the automations that happen between your apps without you having to lift a finger.
Triggers
A trigger is an event you tell Zapier to log every time something happens, causing the action to happen (below). For example, “Trigger a message every time someone joins my mailing list on Snipfeed”.
Actions
Action is the repetitive task that happens after your chosen event is triggered. Your Zap makes the action happen after your event is triggered.
Dive into exactly how it all works and see what’s possible to streamline your workflow via Zapier’s resources- the possibilities are endless.
How to connect Zapier with your Snipfeed page
It’s easy to set up your Zapier integration - follow the steps below to get started.
First, set up your Zapier page here (skip to the next step if you already have one).

Set up your first Trigger (i.e. New Livestream order). This will run as a test to check your Integration is set up correctly, so try to pick a monetization feature that has purchases, or create a new free feature and download/purchase it yourself (Zapier will look for recent customers to test the connection).
You’ll then be promoted to add your API Key.
To find your API Key, simply head to the Settings tab, then Integrations. Copy your unique API key in the Zapier section.
Paste your API key into Zapier.
You’ll then be able to test the Trigger on your Snipfeed account. If Zapier tells you no customers are found, go back to step 3.
Once the test is complete, you’re good to go!
Sign up to the Pro plan to start automating
Note: The Zapier Integration is only available for Snipfeed Pro. Sign up to start automating your workflow across all your apps and get access to tons of other exclusive Snipfeed features.
